


added by gothic__girl
Source: I made it with photoshop ♥
Banner
This Photoshop 팬 아트 contains 빵 굽는 사람 and 토스터.


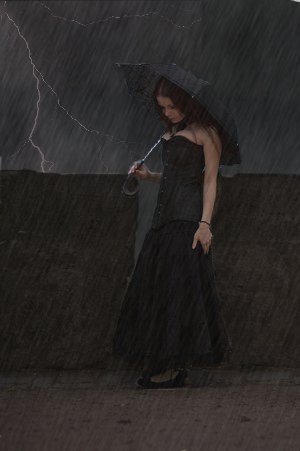


Made in: Adobe Photoshop CS5
Don't claim as your own.
Enjoy ♥
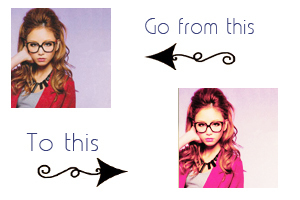
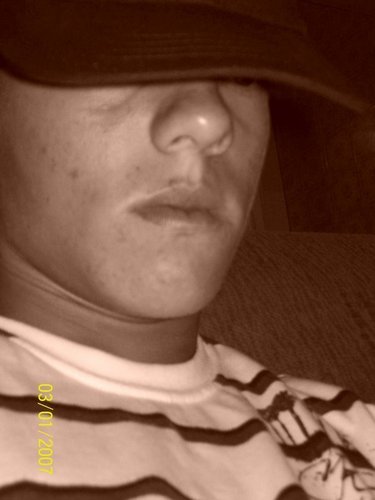
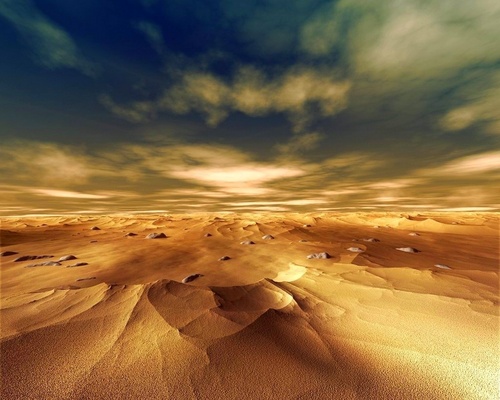
1. Find your image and crop it to 100x100.
Then go to Layer → New Adjustment layer → Selective Coloring:
Yellow: -61
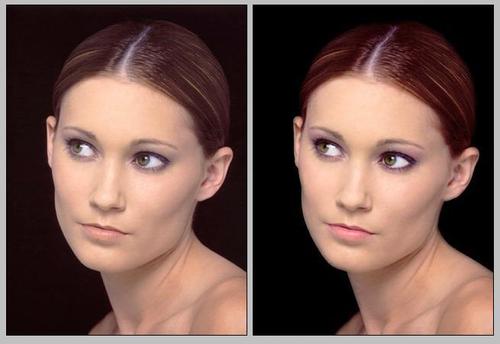
2.Layer → New Adjustment layer → Curves:
Output: 54 Input: 79
Output: 189 Input: 161
3.Layer → New Adjustment layer → Color Balance:
Shadows:
Magenta: +10
Yellow: +10
4.Layer → New Adjustment layer → Color Balance:
Midtones:
Cyan: +45
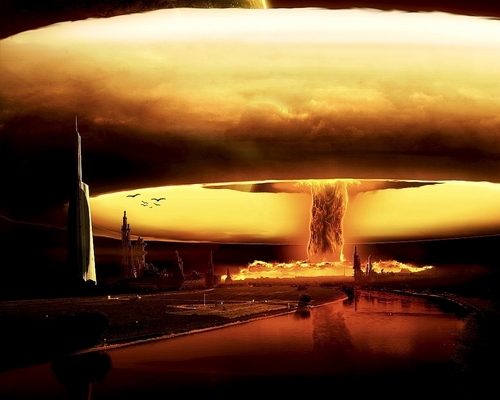
5.Layer → New Fill layer → Solid color:
Color: #f2d798
Mode:Multiply
Opacity: 21%
6.Layer → New Adjustment layer → Selective color:
Cyan: -72
Magenta: +5
Yellow: -32...
continue reading...
Don't claim as your own.
Enjoy ♥
1. Find your image and crop it to 100x100.
Then go to Layer → New Adjustment layer → Selective Coloring:
Yellow: -61
2.Layer → New Adjustment layer → Curves:
Output: 54 Input: 79
Output: 189 Input: 161
3.Layer → New Adjustment layer → Color Balance:
Shadows:
Magenta: +10
Yellow: +10
4.Layer → New Adjustment layer → Color Balance:
Midtones:
Cyan: +45
5.Layer → New Fill layer → Solid color:
Color: #f2d798
Mode:Multiply
Opacity: 21%
6.Layer → New Adjustment layer → Selective color:
Cyan: -72
Magenta: +5
Yellow: -32...