
So I've been asked to explain banner making before but I'm never all that good at writing out all the details. Well I went ahead and gave it a shot today when asked very nicely =] I use Photoshop CS2 so i don't know if this translates easily for other programs but here are some tips that i think are helpful, & a step by step demonstration with a sample banner.
--------------------------------
1.) When you're able to open the Image Size option, make sure Constrain Proportions is checked. This will help to make it so that when you want to resize something, it doesn't get too stretched/stretched weirdly.
2.) Click on your eraser tool. {Make sure it's set to Eraser Tool, NOT Magic Eraser or Background Eraser} Now, click on the circle that says what size Brush you are using. You'll see Master Diameter & Hardness. You'll want to play around with the diameter a bit, it usually depends on how close you need to erase. If you need to get really close, or in small corners, you'll want the eraser to be pretty small. Like i said, just play around with it!
Now for the Hardness meter: You'll want to set it somewhere between 40%-50%. It helps to give the edge a softer look and makes the picture look more natural with the other picture you pair it with.
3.) If you ever want to add color with the paintbrush, always keep the Hardness set at 100%.
4.) Go to the Filter menu, use the sharpen option once or twice per image to sharpen the quality.
5.) Image >>> Adjustments >>> Curves = Great for lightening/brightening a picture.
6.) Image >>> Adjustments >>> Shadow/Highlights = Instant lightening for dark images. {Sometimes you may want to tone down the highlights}
7.) Image >>> Adjustments >>> Exposure = Great for deepening the richness of colors & also more brightening.
-----------------------
Now for the banner w/step by step explanations.
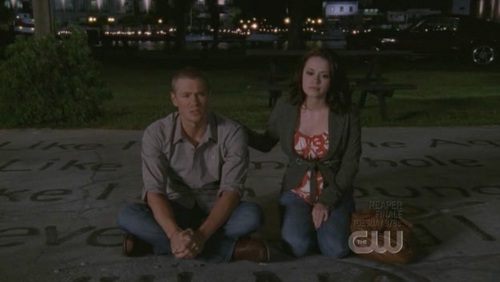
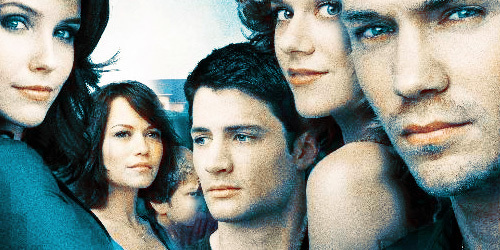
The bottom banner is what i created using the following steps:
The banner: link
Pictures you will use:
link
link
1.) Make a new canvas >> 600x300.
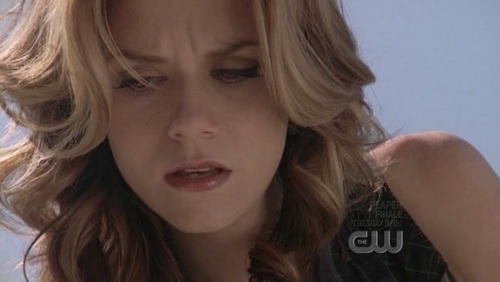
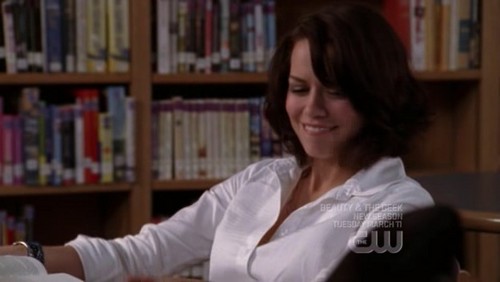
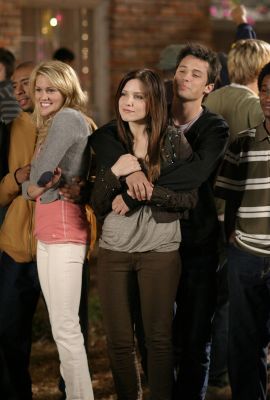
2.) Copy the Brooke picture, paste it to the canvas. Position it where you want, just make sure Brooke is on the left side, slightly away from the edge of the banner.
3.) Filter >>> Sharpen >> Sharpen.
4.) Image >> Adjustments >> Shadow/Highlight >> Shadows: 50% ; Highlights: 0%
5.) Image >> Adjustments >> Exposure >> Exposure: 0.00 ; Offset: -0.0350 ; Gamma: 0.75
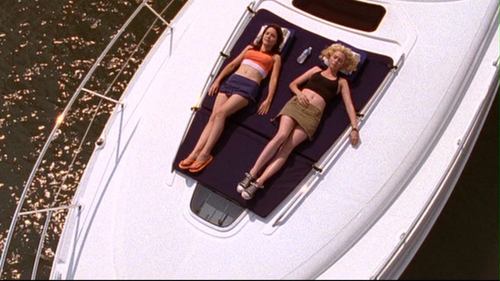
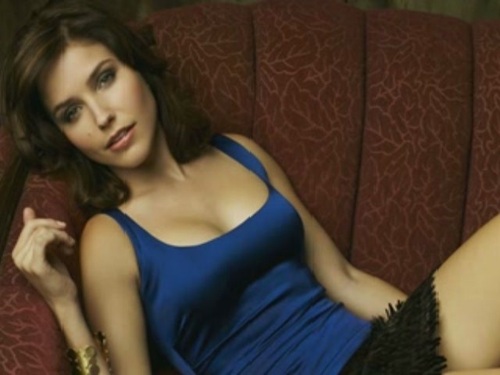
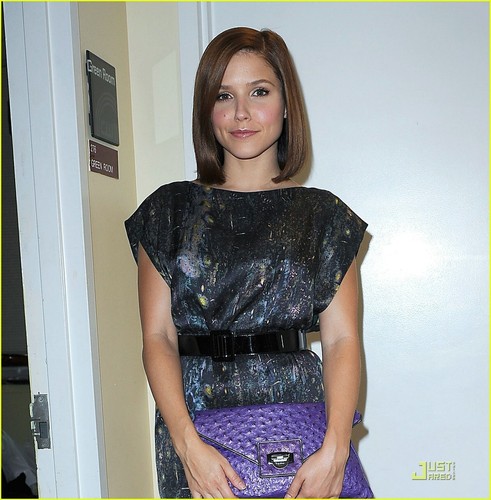
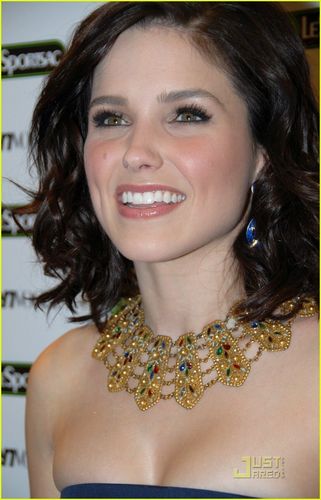
6.) Copy the Peyton picture, paste it to the canvas. Place it under the Brooke picture. {You can do this by dragging it below Layer 1 on the layers list}
7.) Erase the image of Brooke the way i have mine. {Against her body} Be careful to not get too close to her chin & face.
8.) Now repeat steps 3-5 on the Peyton image.
9.) Your banner should look like mine, with the Brooke image on the left & Peyton on the right. You can move them around a bit if you'd like, adjust positioning etc.
10.) File >> Save. {Save it with an image name like BP3x11 or Breyton_3x11} This will just be a raw copy, you can open it up in photoshop at anytime and make adjustments to it if you'd like.
11.) File >> Save for web. {The name you gave it will still be there so just click save and you will have a banner that you can upload to any image site - photobucket, tinypic, imageshack, etc. And you can now upload it to fanpop if you choose to!}


--------------------------------
1.) When you're able to open the Image Size option, make sure Constrain Proportions is checked. This will help to make it so that when you want to resize something, it doesn't get too stretched/stretched weirdly.
2.) Click on your eraser tool. {Make sure it's set to Eraser Tool, NOT Magic Eraser or Background Eraser} Now, click on the circle that says what size Brush you are using. You'll see Master Diameter & Hardness. You'll want to play around with the diameter a bit, it usually depends on how close you need to erase. If you need to get really close, or in small corners, you'll want the eraser to be pretty small. Like i said, just play around with it!
Now for the Hardness meter: You'll want to set it somewhere between 40%-50%. It helps to give the edge a softer look and makes the picture look more natural with the other picture you pair it with.
3.) If you ever want to add color with the paintbrush, always keep the Hardness set at 100%.
4.) Go to the Filter menu, use the sharpen option once or twice per image to sharpen the quality.
5.) Image >>> Adjustments >>> Curves = Great for lightening/brightening a picture.
6.) Image >>> Adjustments >>> Shadow/Highlights = Instant lightening for dark images. {Sometimes you may want to tone down the highlights}
7.) Image >>> Adjustments >>> Exposure = Great for deepening the richness of colors & also more brightening.
-----------------------
Now for the banner w/step by step explanations.
The bottom banner is what i created using the following steps:
The banner: link
Pictures you will use:
link
link
1.) Make a new canvas >> 600x300.
2.) Copy the Brooke picture, paste it to the canvas. Position it where you want, just make sure Brooke is on the left side, slightly away from the edge of the banner.
3.) Filter >>> Sharpen >> Sharpen.
4.) Image >> Adjustments >> Shadow/Highlight >> Shadows: 50% ; Highlights: 0%
5.) Image >> Adjustments >> Exposure >> Exposure: 0.00 ; Offset: -0.0350 ; Gamma: 0.75
6.) Copy the Peyton picture, paste it to the canvas. Place it under the Brooke picture. {You can do this by dragging it below Layer 1 on the layers list}
7.) Erase the image of Brooke the way i have mine. {Against her body} Be careful to not get too close to her chin & face.
8.) Now repeat steps 3-5 on the Peyton image.
9.) Your banner should look like mine, with the Brooke image on the left & Peyton on the right. You can move them around a bit if you'd like, adjust positioning etc.
10.) File >> Save. {Save it with an image name like BP3x11 or Breyton_3x11} This will just be a raw copy, you can open it up in photoshop at anytime and make adjustments to it if you'd like.
11.) File >> Save for web. {The name you gave it will still be there so just click save and you will have a banner that you can upload to any image site - photobucket, tinypic, imageshack, etc. And you can now upload it to fanpop if you choose to!}

Example banner

Brooke picture

Peyton picture